 LetsView
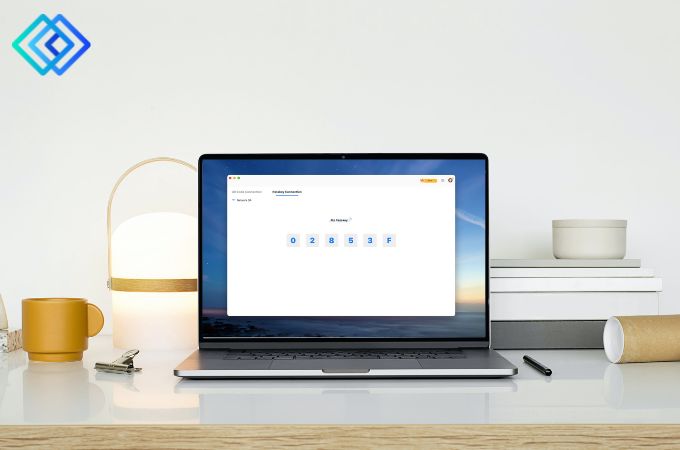
LetsView is a free screen mirroring application that allows you to mirror your iOS device to a Mac running macOS 10.11 and later. With LetsView, you can effortlessly view photos, watch movies, and play mobile games on a larger screen. The app offers various useful features, such as full-screen display, a whiteboard tool, and the ability to take screenshots. Let’s explore how it works together!
LetsView for Mac Tutorial
1. Download and install
1.Please search for “LetsView” and download it from the Google Play Store or the App Store on your phone. On your Mac, please download the desktop version by clicking the button below:
2. After the installation package is downloaded, double-click it and follow the on-screen prompts to complete the installation.
2. Connect iOS and Mac
iOS devices, such as iPhones, iPads, and iPods, are supported by LetsView if they are running iOS 9 or later. You can connect your Apple mobile devices to a computer screen using three methods: searching for the device, scanning a QR code, or using a device code. Details for each method are provided below.
- Search for the device
- Download the app from the app store and install it afterward.
- Ensure that your iPhone or iPad is connected to the same Wi-Fi network as your Mac.
- After opening the LetsView iOS App, tap on the search bar and simply choose the name of your Mac that appears in the search results.

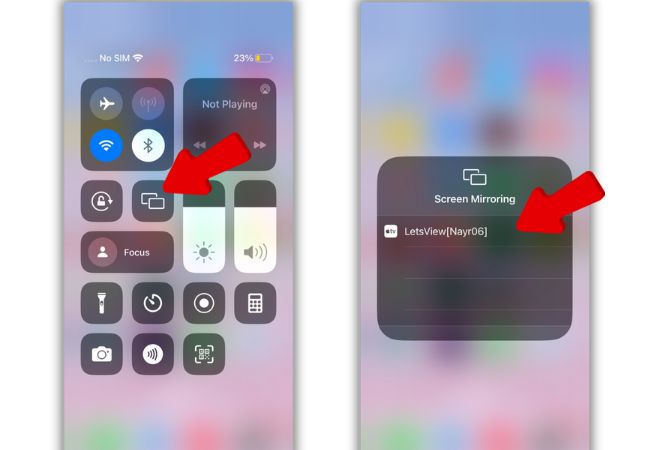
- Swipe up or down to access the control center on your iOS device, tap Screen Mirroring, and then select your computer device. This will successfully cast your iOS device’s screen to your Mac.
- Scan code connection
- Just like the first one, you also need to check if your iOS device and Mac are running on the same Wi-Fi network.
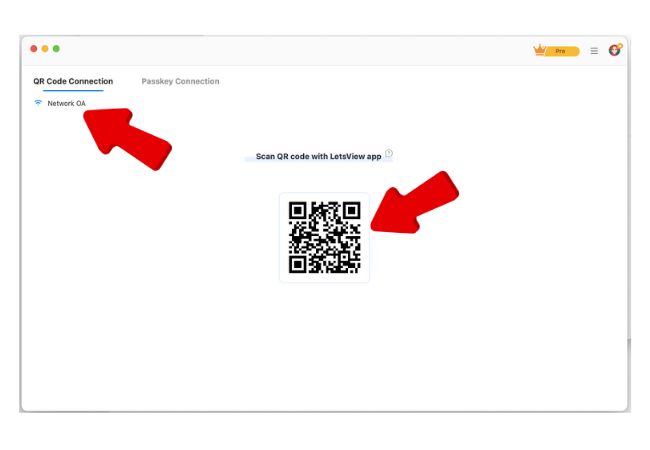
- Click “QR Code Connection” on the Mac screen to display the QR code for screen projection.
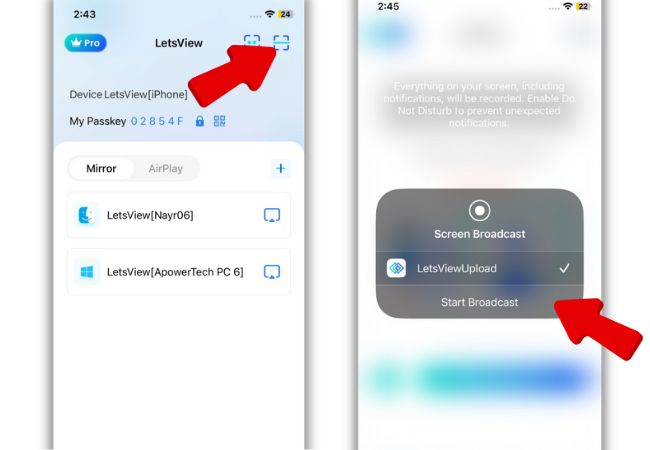
- Next, on your iOS device, tap the “-” Scan Code icon located in the upper right corner. Scan the QR code displayed on your computer screen, and then click “Start Broadcast” in the pop-up live screen window. This will successfully project your iOS device screen to your Mac.
- Passkey connection
- Make sure your iPhone/iPad is connected on the same Wi-Fi network as your Mac.
- Click “Passkey Connection” on the Mac to view the Mac’s device code.
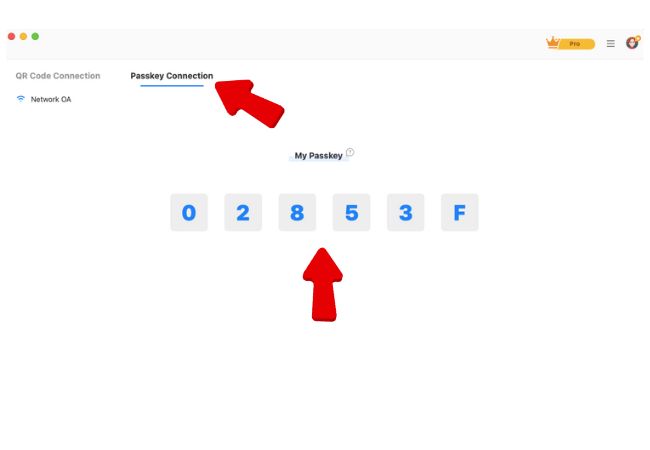
- On your iOS device, tap the asterisk icon, enter the Mac’s passkey code to successfully cast your iOS device.


3. Other useful functions
In addition to wireless screen projection, Mulian also offers the following practical features.
Easily take screenshots
Once you’ve connected to the screen casting, you can click the “Screenshot” icon at the top of the screen projection window to capture and save a screenshot of your current device screen on your Mac.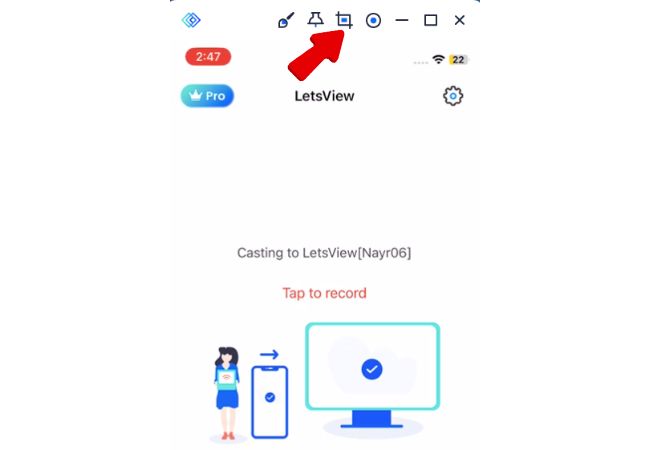
HD real-time screen recording
After connecting the screen projection successfully, simply click the circular record button located at the top right of the screen projection window to begin recording. When you finished recording, click the same button, and the video will be saved on your Mac.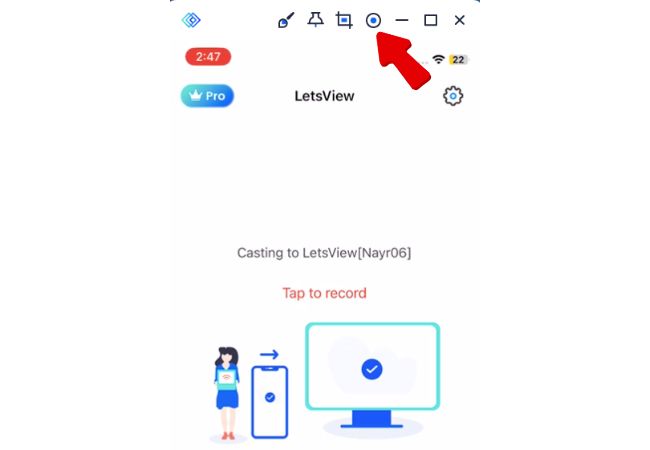
Whiteboard doodling
LetsView also enables real-time screen projection annotations, making it convenient for adding notes during presentations or while reading e-books.
To initiate whiteboard doodling on the projection screen, move your mouse to the top of the screen and click on the leftmost button labeled [Brush].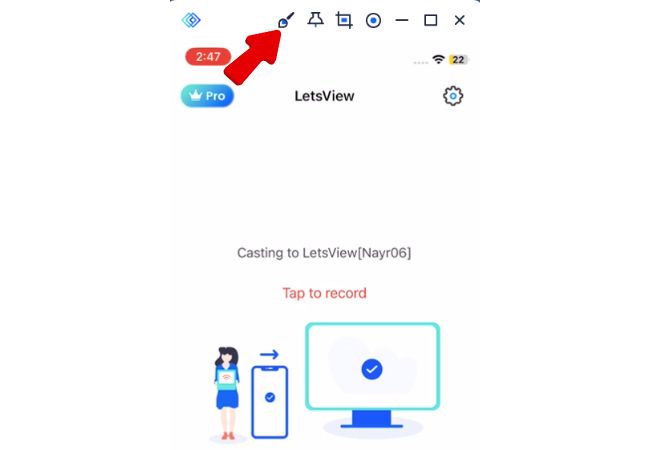
In this feature, you can freely draw on the projected screen using your mouse, and the default brush color is red. The buttons on the top left of the screen transform into four buttons, from left to right: [Brush], [Delete], [Undo], and [Brush Color]. Use [Delete] to clear all current drawings, [Undo] to revert to the previous step, and [Brush Color] to choose from four available colors: green, yellow, blue, black, white, and red. Click [Brush] to exit the drawing interface and perform other actions. It’s important to note that during the drawing process, the projected screen will continue to update in real-time to reflect your actions on the mobile phone.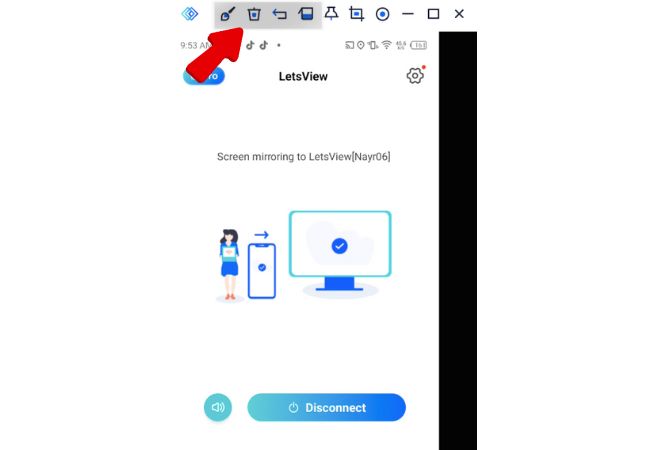
Full screen and Always on Top
When you want to keep the current screen projection at the forefront during the screen casting process, simply click the pin icon at the top of the screen projection window.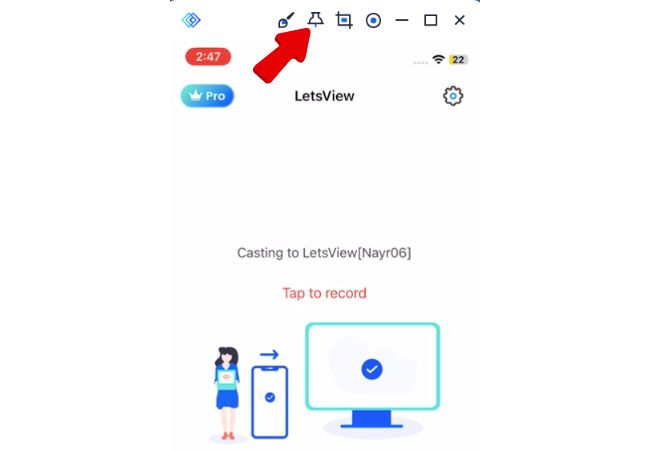
Settings
If you need to change the settings of the screen link, you can click the three-dot button in the upper right corner of the screen link main interface, open the drop-down menu, and select “Settings”.
The “Settings” menu includes three categories of settings: “General Settings”, “Display Settings”, and “Storage Settings”. For instance, in “Display Settings”, you can adjust the resolution for Airplay screen casting to Mac, and in “Storage Settings”, you can modify the format and storage location for screenshots and recorded videos. You can customize these settings according to your own needs.


Leave a Comment